When Your Heat Stops Working: What to Check First
Heating system troubleshooting starts with a few simple checks that resolve most problems before you ever need to call a technician.
Here are the most common heating issues and what to do:
| Symptom | Most Likely Cause | First Step |
|---|---|---|
| No heat at all | Thermostat setting, tripped breaker, or dead batteries | Check thermostat mode and circuit breaker |
| Heat runs but air is cold | Clogged air filter or failed flame sensor | Replace air filter; check pilot light |
| System short-cycles (turns on/off repeatedly) | Dirty filter causing overheating | Replace filter; check for blocked vents |
| Uneven heating across rooms | Blocked vents or duct leaks | Open all registers; inspect visible ductwork |
| Strange smell or unusual noise | Possible gas leak, failing motor, or debris | Shut down system; call a pro immediately |
| Boiler not heating radiators | Low pressure or trapped air | Check pressure gauge; bleed radiators |
| Heat pump blowing lukewarm air | Defrost cycle active or reversing valve fault | Wait 15 minutes; call a tech if it persists |
Your heating system almost always stops working for one of a small number of reasons — a clogged filter, a tripped breaker, a thermostat setting, or a failed component like an igniter or flame sensor. The good news: many of these you can fix yourself in under 10 minutes.
But some problems — gas smells, yellow flames, carbon monoxide alerts, or a system that keeps tripping its reset — are serious. Those require a licensed technician, not a DIY fix.
This guide walks you through exactly how to diagnose your heating system safely, step by step, so you know what you can handle and when to pick up the phone.

Related content about Heating system troubleshooting:
Step-by-Step Heating System Troubleshooting for Homeowners

When the temperature drops in Massachusetts, a failing heater can quickly turn your cozy living room into an icebox. Before you panic, follow a logical, step-by-step diagnostic sequence. Approaching the problem methodically saves you time and prevents unnecessary service calls.
First, remember the golden rule of DIY HVAC work: safety first. Always turn off the electrical power at the circuit breaker and shut off the fuel supply before inspecting any internal components.
Thermostat and Electrical Checks
It is incredibly common for a “broken” heater to actually be a minor thermostat or electrical glitch. If your system refuses to turn on, start with these simple checks:
- Verify the Settings: Ensure your thermostat is set to “Heat” mode and the target temperature is set at least 3°F to 5°F higher than the current room temperature.
- Check the Batteries: If you have a programmable or digital thermostat, replace the batteries. Dead or dying batteries are a primary culprit when a system won’t kick on.
- Inspect the Circuit Breakers: Head to your electrical panel. Look for the breaker labeled for your heating system or air handler. If it has tripped, flip it completely to “Off” and then back to “On.” If it trips again immediately, do not attempt to reset it—this indicates a downstream electrical fault that requires professional attention.
- Locate the Furnace Power Switch: Most central heating systems have an exterior power switch that looks like a standard light switch near the indoor unit. Make sure it hasn’t been accidentally flipped off.
- Secure the Access Panel: Many modern furnaces feature built-in safety switches. If the front blower access panel is loose or wasn’t replaced securely after your last filter change, the system will not run.
If you are still experiencing issues, read our detailed guide on What to Do If Your Thermostat Isn’t Working and review this guide on why a Thermostat Won’t Turn Heat (or A/C) ON . For advanced homeowners, you can check out more Troubleshooting Thermostat Issues: Repair Tips and Tricks to isolate whether the issue lies in the device or the wiring.
Airflow and Filter Maintenance
A clogged air filter is the single most common furnace problem. When dirt and dust block the filter, it restricts airflow. This forces your system to work twice as hard, leading to overheating, poor indoor air quality, and eventual system shutdown via the high-limit safety switch.
To diagnose and resolve airflow restrictions:
- Check the Filter: Pull out your furnace filter. Hold it up to a light source. If light cannot pass through it easily, it is choked with dust and must be replaced. We recommend replacing disposable filters every 30 to 90 days.
- Keep Vents and Registers Open: Ensure that all supply and return grilles throughout your home are completely open and unobstructed by furniture, rugs, or drapes. Homeowners often close vents in unused rooms to “save energy,” but this actually increases static pressure, causing duct leaks and system damage.
- Clear Outdoor Vents: If you have a high-efficiency furnace or boiler, check the PVC intake and exhaust pipes on the side of your home. Clear away any snow, ice, leaves, or bird nests that could block the airflow.
For more helpful details, read about Common Heating Repair Issues and How to Troubleshoot Them and see how to resolve 5 Common Heating System Problems and How to Fix Them.
Heating System Troubleshooting for Gas Furnaces and Boilers
If your electrical connections and airflow are fine but your gas furnace or boiler still won’t heat, the issue likely lies within the ignition or combustion system.
- Examine the Pilot Light or Igniter: Older gas furnaces rely on a standing pilot light, while newer models use electronic hot surface igniters (which typically fail first on systems over seven years old due to wear). If your older unit’s pilot light has gone out, turn off the gas valve for 10 to 15 minutes before attempting to relight it to allow any lingering gas to safely dissipate.
- Clean the Flame Sensor: A dirty flame sensor will prevent your furnace from staying lit. If the burner ignites but shuts off after only a few seconds, the sensor likely has carbon buildup and needs a gentle cleaning.
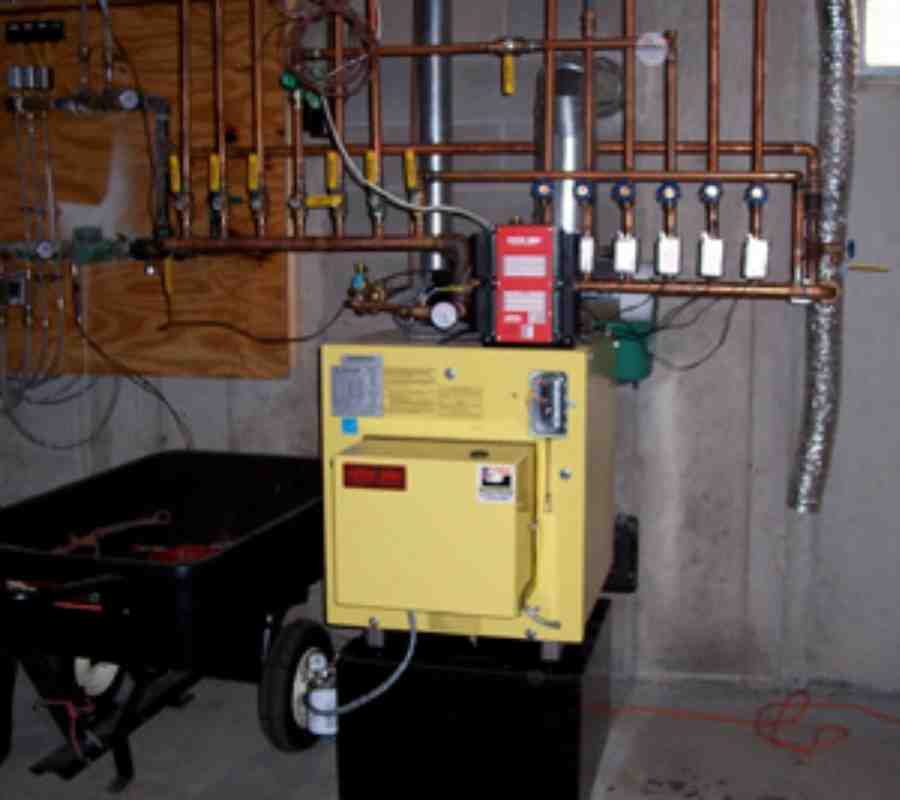
- Verify Boiler Pressure: If you have a hydronic boiler system, check the pressure gauge. Most residential boilers require a minimum of 12 to 15 psi when cold. Low pressure, often caused by trapped air or tiny leaks, will prevent the system from heating your radiators. You can release trapped air by using a radiator key to bleed the air out of your radiators until water begins to drip.
For step-by-step assistance, consult our Furnace Pilot Light Repair: A Step-by-Step Guide and our resource on No Heat: A Simple Guide to Relighting Your Boiler’s Pilot Light. Homeowners can also utilize this comprehensive Gas Furnaces & Heater Troubleshoot Checklist .
Heating System Troubleshooting for Heat Pumps
Unlike traditional furnaces, heat pumps rely on refrigerant to extract heat from the outdoor air and bring it indoors. This makes their troubleshooting steps slightly different.
- Understand the Defrost Cycle: During cold, humid winter days, frost will naturally build up on your outdoor unit’s coils. The heat pump will periodically shift into its defrost cycle to melt this ice. During this time, the outdoor fan will stop, and the system may temporarily blow cooler air or emit a low humming noise. This is normal and should resolve within 10 to 15 minutes.
- Inspect the Outdoor Unit: Ensure there is at least 2 to 3 feet of clear space around your outdoor condenser. Shovel away snow drifts and clear fallen leaves or ice.
- Check for Refrigerant Leaks: If you notice liquid pooling near the outdoor unit or if the system runs constantly but only produces lukewarm air, you may have a refrigerant leak. Since refrigerant handling is tightly regulated, this requires a licensed professional.
To dive deeper into heat pump diagnostics, view The Ultimate Checklist: How to Perform a Heating System Diagnostic.
Professional Diagnostics and When to Call for Expert Help

While changing a filter or resetting a breaker is perfectly safe for a homeowner, there are strict legal and safety boundaries when it comes to heating repairs. Under national regulations like NFPA 54 (for fuel gas) and NFPA 70 (for electrical systems), complex repairs must be completed by a licensed professional.
If you qualify for state assistance programs, you might find support through the Heating System Repair & Replacement Program (HEARTWAP) , which helps low-income homeowners in Massachusetts handle emergency heating repairs.
Recognizing Dangerous Warning Signs
Never attempt to troubleshoot the following dangerous issues yourself. Shut down your system immediately and call for emergency service if you notice:
- The Smell of Gas: If you smell rotten eggs, evacuate your home immediately. Do not flip any light switches or use your phone inside. Call your gas company and emergency services from a safe distance.
- A Yellow Burner Flame: A healthy gas burner flame should always be a steady, bright blue. A yellow or flickering flame indicates incomplete combustion, which produces deadly carbon monoxide (CO).
- Carbon Monoxide Alarms: If your CO detector sounds, immediately open the windows, get everyone outside into the fresh air, and call 911.
- Severe Short-Cycling: If your system turns on and off every few minutes, it is short-cycling. This rapidly wears out critical components like the blower motor and igniter, and is often caused by a failing high-limit switch or a cracked heat exchanger. Review our Signs Your Furnace Needs Repair: Troubleshooting Guide and learn How to Spot the Signs That Your Home Needs Heating Services.
Preparing for a Professional Service Call
When DIY troubleshooting isn’t enough, calling an expert is the fastest way to restore comfort to your home. To help your technician work efficiently and get your heat back on quickly, gather the following system documentation before they arrive:
- The brand and model number of your heating unit (usually found on a metal nameplate inside the cabinet access door).
- The approximate age of the system and its maintenance history.
- A description of any specific error codes flashing on your thermostat or furnace control board.
At Accurate Baker Elman, we bring over 30 years of local experience to homeowners throughout Massachusetts, including Franklin, Medway, Millis, and Newton. As a proud Mitsubishi Electric Elite Diamond Contractor, we provide honest, expert solutions for all heating systems.
For a systematic breakdown of what to expect during a technician’s visit, you can read about the professional 3: TROUBLESHOOTING PROCESS | Caleffi S.p.a. . If you are currently freezing, do not hesitate to contact our Emergency Heating Services When You Need Immediate Help and learn more about Emergency Heating Services in Massachusetts: What to Expect.
Ready to get your system running perfectly? Schedule professional heating repair services in Massachusetts with us today!