Why Knowing How to Hook Up a Tankless Water Heater Saves You Time, Money, and Headaches
Learning how to hook up a tankless water heater the right way can mean the difference between endless hot water and a costly, code-violating mess — especially in a Massachusetts home where winters push your system hard.
Here’s a quick overview of the 5 steps to hook up a tankless water heater:
- Choose your fuel type — gas or electric
- Size the unit for your home’s hot water demand
- Check permits, placement, and code requirements
- Mount the unit and connect the plumbing
- Connect electrical or gas service, then test and start up
Tankless water heaters heat water only when you need it — no tank, no standby heat loss, no running out mid-shower. They can last 20+ years and, according to the U.S. Department of Energy, small on-demand models are 24–34% more energy efficient than traditional storage tank heaters.
But installation isn’t just plug-and-play. It involves electrical upgrades, gas line sizing, venting, permits, and local code compliance. Getting any of these wrong creates safety risks and expensive repairs down the road.
This guide walks you through every step clearly and simply.

Common hook up tankless water heater vocab:
- continuous hot water system installation cost
- indoor tankless water heater installation
- tankless hot water heater plumbing
How to Hook Up a Tankless Water Heater: Plan, Size, and Choose the Right System
Before we start swinging wrenches, we need a solid plan. A tankless system is a completely different beast than the big metal cylinder you might be used to. These units are compact, wall-mounted, and provide “endless” hot water because they flash-heat water as it flows through a heat exchanger.
The benefits are hard to ignore. Beyond a life expectancy that is double that of a traditional tank, ENERGY STAR certified gas tankless units can use about 50% less energy. In a typical home in Norfolk MA or Framingham MA, this translates to significant monthly savings.
When planning to hook up a tankless water heater, you’ll choose between whole-house units (which serve every tap) or point-of-use units (small heaters tucked under a specific sink).
| Feature | Gas Tankless | Electric Tankless |
|---|---|---|
| Efficiency | Very High (Condensing models 90%+) | High (98%+) |
| Installation Complexity | High (Venting & Gas lines) | Medium (Electrical panel upgrades) |
| Performance in Cold Climates | Excellent | May struggle with very high demand |
| Power Outage | Won’t work without backup | Won’t work |
For a deeper dive into these differences, check out The Ultimate Guide to Tankless Water Heaters or our comparison of Tankless vs Traditional Water Heaters.
Step 1: Pick gas or electric before you hook up tankless water heater connections
This is the “fork in the road” for your project. Gas models are popular in Massachusetts because they handle the high “temperature rise” needed when our groundwater is icy in January. However, they require complex venting (direct vent through a wall) and a high BTU input—often 199,000 BTU/hr, which is much higher than a standard furnace.
Electric models don’t need vents, making them easier to place. But be warned: they are “power hungry.” A whole-home electric unit might require up to 133 amps at 240 volts, often necessitating a 200-amp or even 300-amp main electrical service upgrade.
Step 2: Size the unit for bathrooms, fixtures, and simultaneous demand
Sizing is measured in Gallons Per Minute (GPM). If you want to run the dishwasher while someone is showering, you need to add those GPM requirements together.
Common Fixture Flow Rates:
- Standard Showerhead: 2.5 GPM
- Kitchen Faucet: 1.5 GPM
- Dishwasher: 1.0 GPM
- Washing Machine: 2.0 GPM
In cold climates like Newton MA or Waltham MA, the “temperature rise” (the difference between incoming cold water and your desired hot temp) is significant. We always recommend slightly oversizing the unit to ensure you don’t get a “cold water sandwich” during peak usage.
Step 3: Check permits, placement, and code requirements first
Don’t skip the paperwork! Most towns in the MetroWest area require plumbing and electrical permits to hook up a tankless water heater.
For placement, the unit should be indoors in a location protected from freezing. You’ll need specific clearances: usually 12 inches above and below, and 6 inches on the sides. Safety must-haves include a pressure relief valve (PRV) rated for 150 psi, a sediment trap on gas lines, and a carbon monoxide alarm nearby if you’re using gas.

5 Easy Steps to Hook Up Tankless Water Heater Plumbing, Electrical, and Gas Connections
Once you have your unit and your permits, it’s time for the physical labor. Whether you are following an electric tankless installation manual or a gas tankless installation walkthrough, the sequence remains similar.
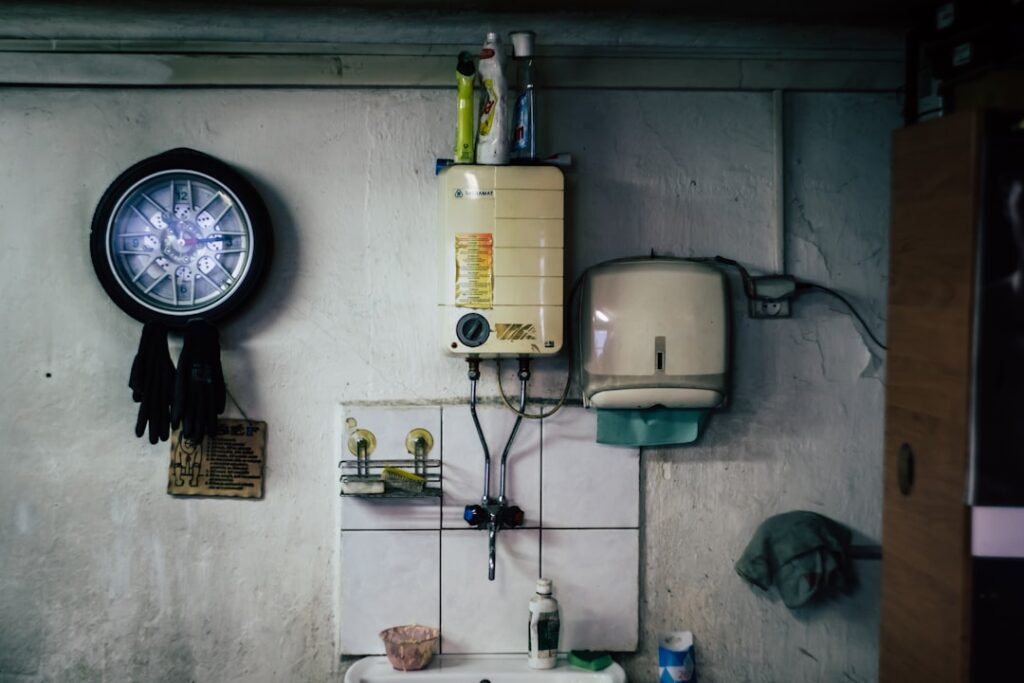
Step 4: Hook up tankless water heater mounting and plumbing the right way
First, secure the mounting bracket to the wall studs. These units are heavy when full of water, so a piece of 3/4-inch plywood as a backer is a smart move.
When you hook up a tankless water heater to your plumbing, use isolation valves (service valves). These allow you to flush the unit with vinegar later to remove scale. Use flexible connectors to prevent vibration and strain on the unit’s internal copper pipes.
Plumbing Essentials:
- Cold Inlet: Install a shutoff valve and a sediment filter.
- Hot Outlet: Install the pressure relief valve here.
- Condensate Drain: High-efficiency “condensing” units produce acidic water that must be drained through a neutralizer kit to a safe floor drain.
- Purge Valves: These are critical for maintenance and for clearing air from the lines during the first startup.
For more help, see our Plumbing Services in MA or Water Heater Installation Services in MA.
Step 5: Hook up tankless water heater electrical or gas service safely
This is the most dangerous part of the job. For electric units, you aren’t just plugging it in. You may need three or four dedicated 40-amp or 60-amp breakers and heavy-gauge wire (like 6-gauge or 8-gauge copper).
For gas units, your existing 1/2-inch gas line is likely too small. Tankless units demand a massive amount of fuel instantly to heat water on the fly. You will often need to upgrade to a 1-inch or 3/4-inch gas line to prevent “starving” the unit (and your furnace) of fuel. Always install a sediment trap (dirt leg) to keep debris out of the burner.
Final startup: test for leaks, purge air, set temperature, and avoid common mistakes
Before you turn the power on, you must purge the air. Open every hot water tap in the house and let the water run for a few minutes until it flows steadily without sputtering. If you fire the unit with air inside, you can burn out the heat exchanger instantly.
Startup Checklist:
- Check all gas and water connections with soapy water for leaks.
- Turn on the electricity/plug it into a grounded 120V outlet (for gas units).
- Set the thermostat. We recommend 120°F to prevent scalding.
- Test the flow. Run a shower and verify the unit ignites and stays consistent.
Avoid common blunders like reusing an old water heater vent (tankless units need special Category IV stainless steel or PVC venting, depending on the model) or letting the unit’s weight hang on the pipes without support.

When to Call a Pro for a Safe, Code-Compliant Installation
While we love a good DIY project, the reality is that a tankless hookup involves high-voltage electricity, combustible gas, and precise venting. One mistake can lead to a gas leak, a house fire, or carbon monoxide poisoning.
Furthermore, most manufacturers will void your warranty if the unit isn’t installed by a licensed professional. At Accurate Baker Elman, we’ve spent over 30 years helping homeowners in Franklin MA, Bellingham MA, and throughout the MetroWest area transition to energy-efficient hot water. We can often complete a professional installation in a single day, ensuring everything is up to the latest Massachusetts codes.
If you’re ready to stop worrying about your old, leaking tank and start enjoying endless hot water, we’re here to help. Check out our Tankless Water Heater Services or learn more about what to expect with our Guide to Water Heater Replacement Costs.
Whether you are in Needham MA, Norwood MA, or any of our surrounding communities, give us a call today for an honest, expert assessment of your home’s hot water needs!